ATC Radar


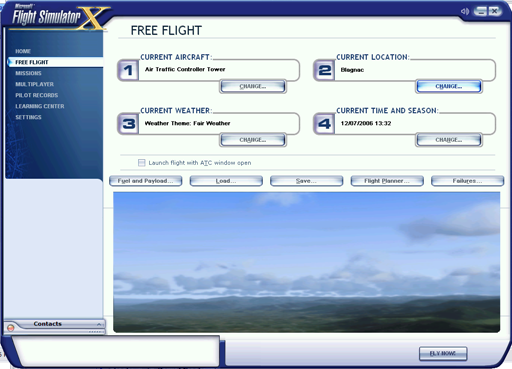
French version available HERE.


Table of Contents

Introduction

After the development of my aircraft radar for FS2004 and FSX, I thought it was interesting to provide the same kind of radar for air traffic control usage. The ATC radar was born... The radar technology is the same as the aircraft radar, so it works with FS2004 and FSX, displaying AI traffic, multi-player session aircrafts (including IBNet sessions).

Registration

The ATC radar must be registered before it can be used. The installer suggests that you register it right after the installation, but if you have not done so, launch the registering application through the Start menu: SimScape > ATC Radar > Register.
The following window appears:


You just need to enter your e-mail address and the key that were provided to you by mail when you purchased the product. Then click "Register", and a message window should indicate the registration is successful. If not, please contact the author (his e-mail address is indicated in the error message).
Advice: In order to avoid any entry error, please copy and paste the key instead of typing it.


Usage

In order to load the ATC radar, start FS (FS2004 or FSX), load the aircraft called "Tower", from the "Air Traffic Controller" manufacturer. Don't be amazed if you see nothing in the aircraft preview window, it is normal because the aircraft is just invisible...

FS2004 aircraft selection FSX aircraft selection

Then switch to 2D panel mode if you are not already in this view mode. This specific aircraft panel is dedicated to the ATC radar usage. This radar is optimized to be used in full screen mode. When the aircraft is loaded and the 2D panel mode is set, you should see something like this:


Each aircraft is displayed with a symbol (triangle for FS aircrafts, circle for IBNet aircrafts), a speed vector that shows its speed and direction, and aircraft information: callsign, altitude, heading and airspeedCes. The color of each aircraft depends on its altitude, according to this color scale:

0 to 10000 ft10000 to 20000 ft20000 to 30000 ft30000 to 40000 ftover 40000 ft

As this radar is designed for air traffic control, my advice is that you position your aircraft on the airport that you want to control. Nevertheless, I suggest that you do not position the aircraft on a runway. Moving it near a tower will make the ATC operation more realistic. To help you positioning the aircraft on the airport, the "tower" aircraft has been designed with 4 red lights that make a square so you can easily position it using the outside view and the slew mode. This is shown on the image below:

Positioning the radar in FS2004

Positioning the radar in FSX

If you don't see the 4 red lights, press the L key to switch all lights on and they will appear.

The ATC radar is composed of 2 parts:

Functions

This section describes the functions associated to the buttons in the left part of the ATC radar.

1) MAP section

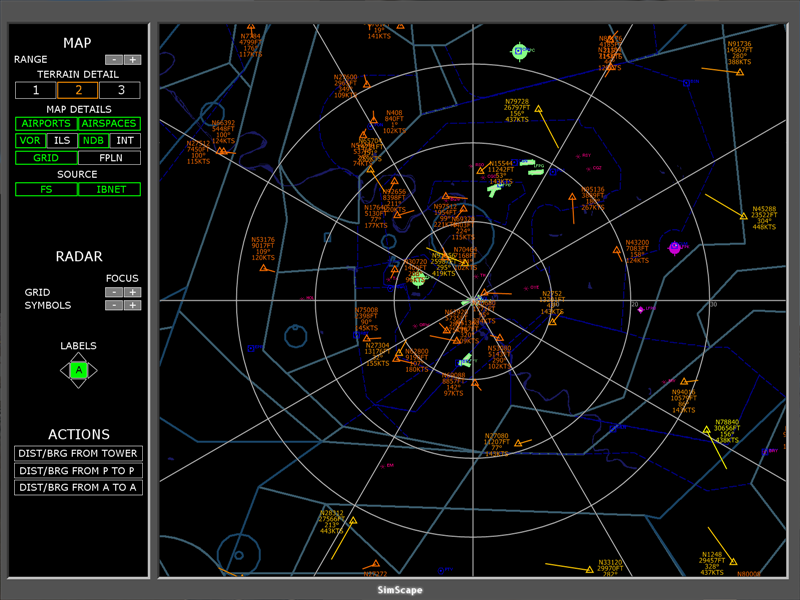
The 2 grey buttons let you change the ATC radar range. Just like in many FS panels, you can also use the mouse wheel when the mouse is moved over one ot these buttons.
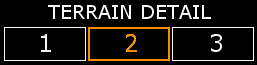
The 3 terrain buttons let you select the level of detail of the terrain displayed on the ATC radar screen. They are exclusive (only one of them can be selected at a given time).
  • Level 1: you see only the shores
  • Level 2: you see the shores, rivers and roads
  • Level 3: you see terrain elevation
This group of buttons lets you show/hide some details on teh ATC radar main screen:
  • AIRPORTS: show/hide airports on the map (on by default)
  • AIRSPACES: show/hide airspaces (on by default)
  • VOR: show/hide VOR stations on the map (on by default)
  • ILS: show/hide ILS arrows on the map (on by default)
  • NDB: show/hide NDB stations on the map (on by default)
  • INT: show/hide intersections on the map (off by default)
  • GRID: show/hide the radar grid on the map (on by default)
  • FPLN: show/hide the flight plan entered in the FS flight planner (off by default). This feature is useful if you want to control aircrafts that are supposed to follow a predefined flight plan and you want to make sure they correctly fly along the route.
The source buttons let you select the traffic information source
  • FS: If selected, all the aircraft managed by FS are displayed. This includes the AI traffic aircrafts or the FS multi-player aircrafts in multi-player sessions. They are displayed with a triangle symbol.
  • IBNET: If selected, all the aircraft managed by IBNet are displayed with a circle symbol. Note that IBNet does not stop the AI traffic, so you might want to deselect the FS traffic if you control an IBNet session.

2) RADAR Section

The 2 grey buttons let you adjust the focus for the radar grid shown on the main ATC radar screen. Like for the other grey buttons, you can use the mouse wheel when the mouse is positionned over one o these buttons.
These 2 buttons let you adjust the focus for the aircraft symbols displayed on the main ATC radar screen.
These buttons are used to select the label position next to each aircraft.
You can click on any of the 4 arrow buttons to select each label position.
You can click the "A" button to select the label automatic positionning. This is supposed to help thr label readability, especially when some aircraft are very close from each other. It provides something like this:
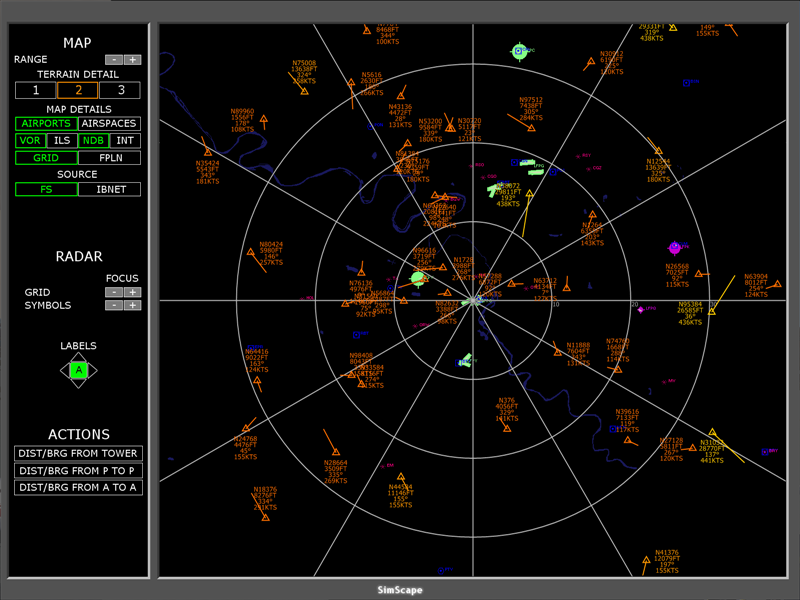
3) ACTIONS Section


These buttons let you trigger some actions that take place on the main ATC radar screen. Each action is executed in several steps and can be aborted at any time. To initiate an action, click one of the action buttons. It then turns yellow to show the action is active. If an action was in progress, it is aborted at this time.

This action lets you measure the bearing and distance from the tower to any point on the ATC radar screen. When you click this button, you can then move the mouse around on the main ATC radar screen. A blue line is then drawn, showing the bearing from and to the tower and the line distance.

On this image, this action is used to measure the distance and bearing to the aircraft N31496, which is 270° at 32 NM.
If you click again, the line remains on the screen until you click again or another action is initiated.
This action lets you measure the distance and bearing between 2 points. As soon as this action is initiated, you can click anywhere on the ATC radar main screen to select the first point. Then a blue line is drawn to select the second point. You can click again to select the second point and the line shows the distance and the bearing between the 2 selected points. The line remains on the screen until you click again or select another action.
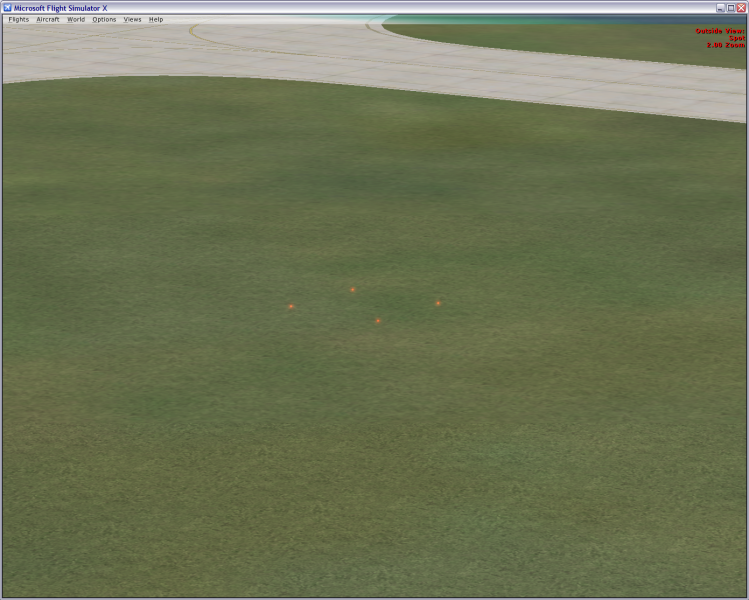
This action lets you measure the distance and bearing between 2 aircrafts, updated when the aircrafts move. As soon as the action is initiated, click the first aircraft on the ATC radar screen. When an aircraft is selected, the aircraft symbol is filled. Then select the second aircraft, and a blue line shows the bearing and distance between the 2 selected aircrafts.

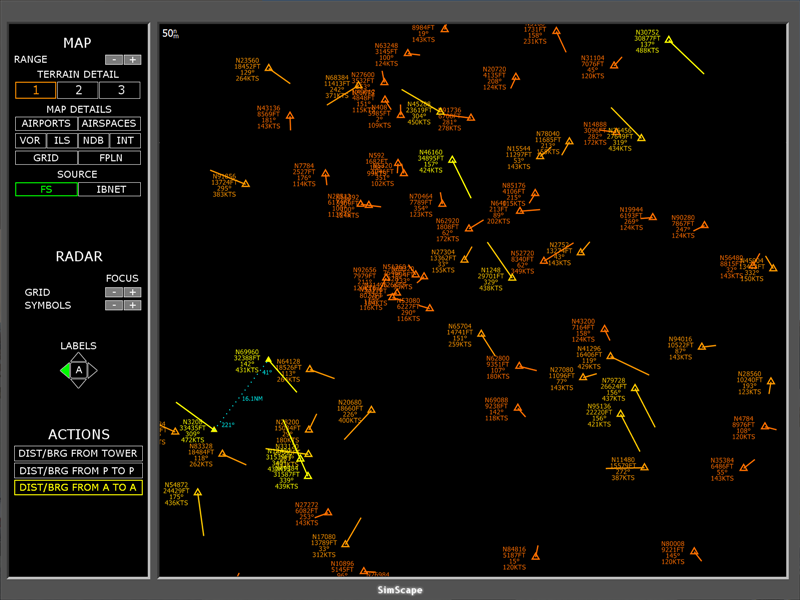
From a closer point of view, it looks like this: